SaaS App Setup
Create your account, add a device, and get your unique device name — you'll need it in step 2.
Device Setup
Power up your SmartRemote, connect to its hotspot, and configure it through its built-in web interface.
SaaS App Setup
This section is coming soon
The SaaS dashboard guide is being prepared. It will walk you through creating your account, adding a new device, and choosing your unique device name.
You need to complete the SaaS setup first so you have your device credentials ready before configuring the physical device below.
Device Setup
Power up the device
Connect your SmartRemote to a 12V DC power supply using either the barrel jack or the Phoenix terminal connector. Once powered, the device boots in about 10 seconds.
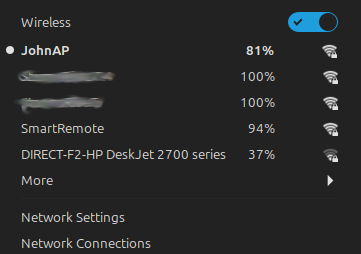
As soon as it's ready it broadcasts its own Wi-Fi hotspot so you can configure it.
Hotspot details
SmartRemote
SmartRemote
Connect and open the web interface
On your phone or laptop, join the SmartRemote Wi-Fi network using the password SmartRemote.
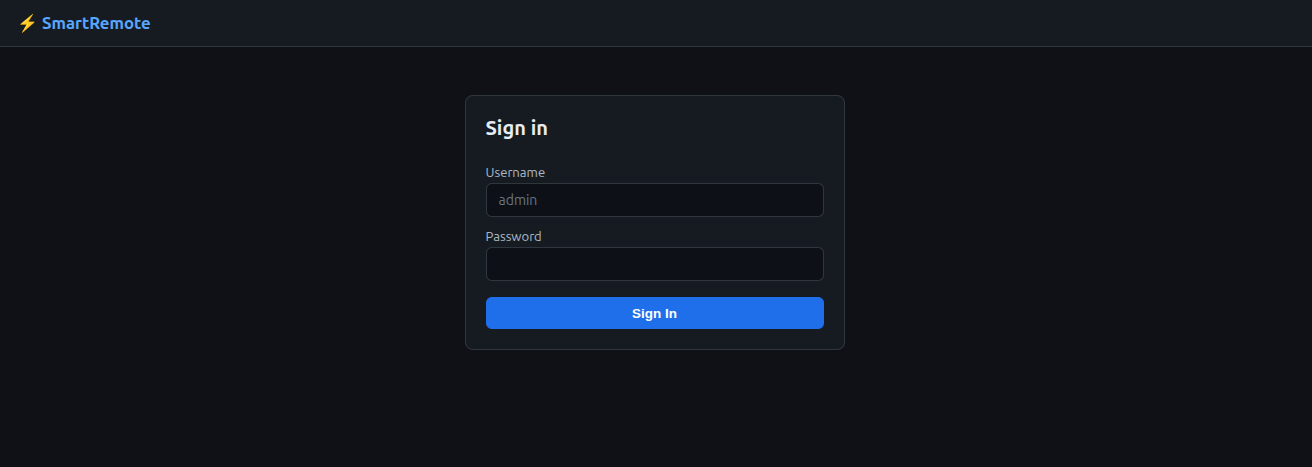
Open any browser and navigate to 192.168.4.1. You'll see the SmartRemote sign-in screen.
Default login credentials
admin
admin
The dashboard
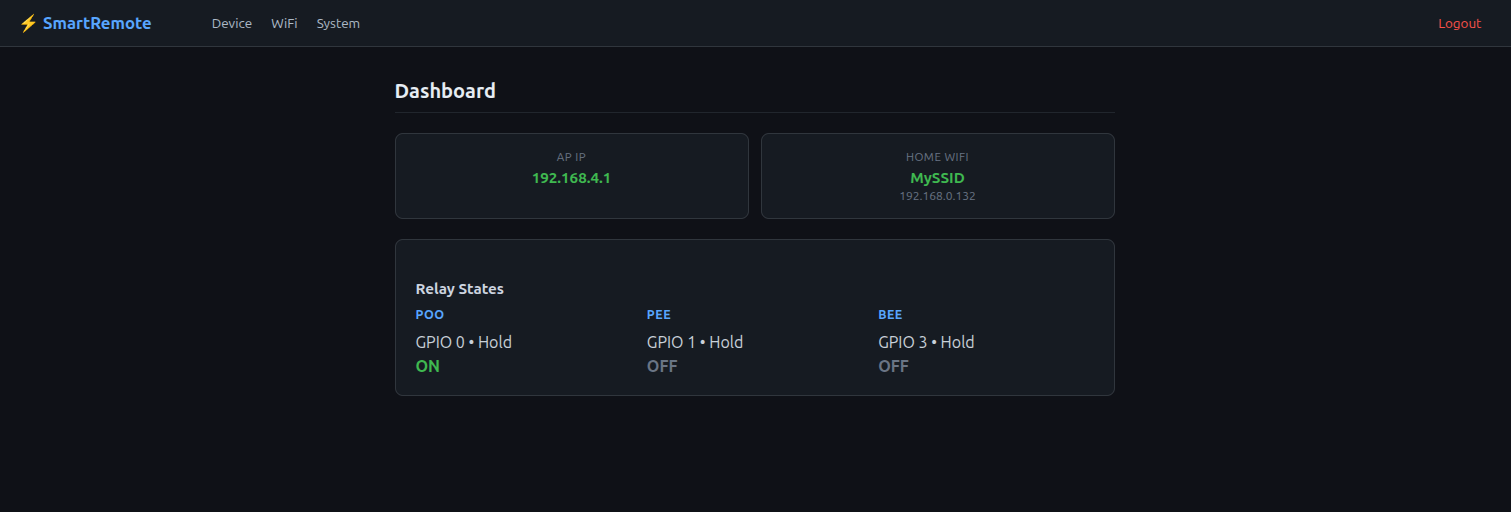
After logging in you'll land on the dashboard. This gives you a quick overview: the device's AP IP address, the home Wi-Fi it's connected to, and the current state of each relay channel.
From here you can navigate to three configuration pages using the top menu: Device, WiFi, and System.
- AP IP is always
192.168.4.1 - Relay states shown in real time
- Three menu items for configuration
Connect to your home Wi-Fi
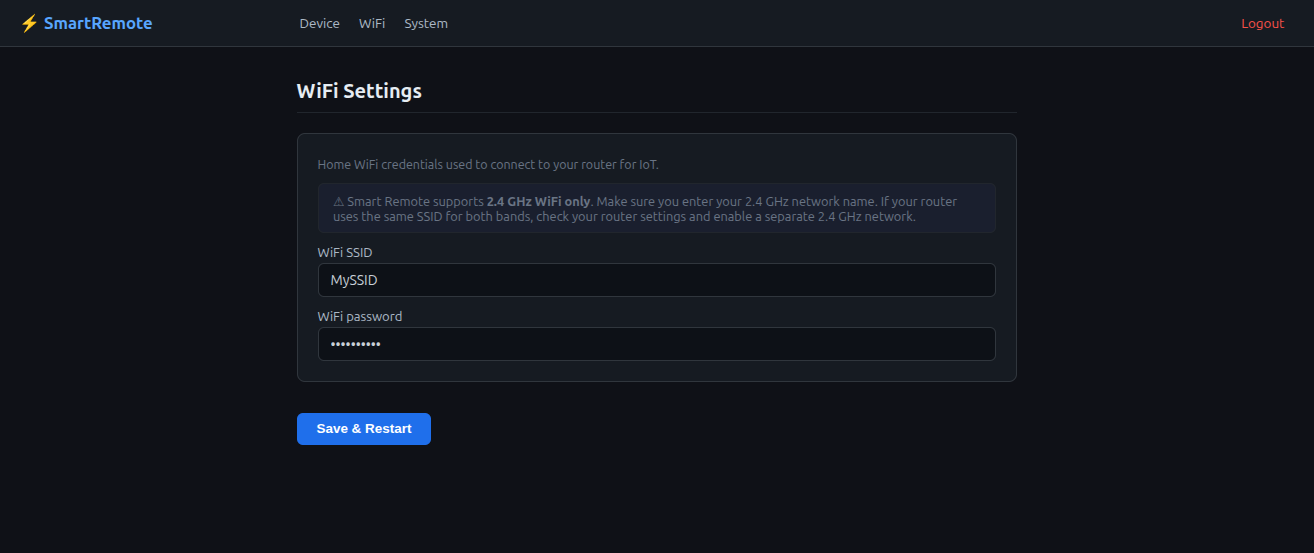
Click WiFi in the top menu. Enter your home Wi-Fi network name (SSID) and password, then click Save & Restart.
The device will reboot and join your home network. Once it reconnects, the dashboard will show your router's assigned IP address alongside the AP IP.
2.4 GHz only. SmartRemote only connects to 2.4 GHz Wi-Fi networks. If your router uses the same name for both bands, check your router settings and either enable band steering or create a separate 2.4 GHz SSID.
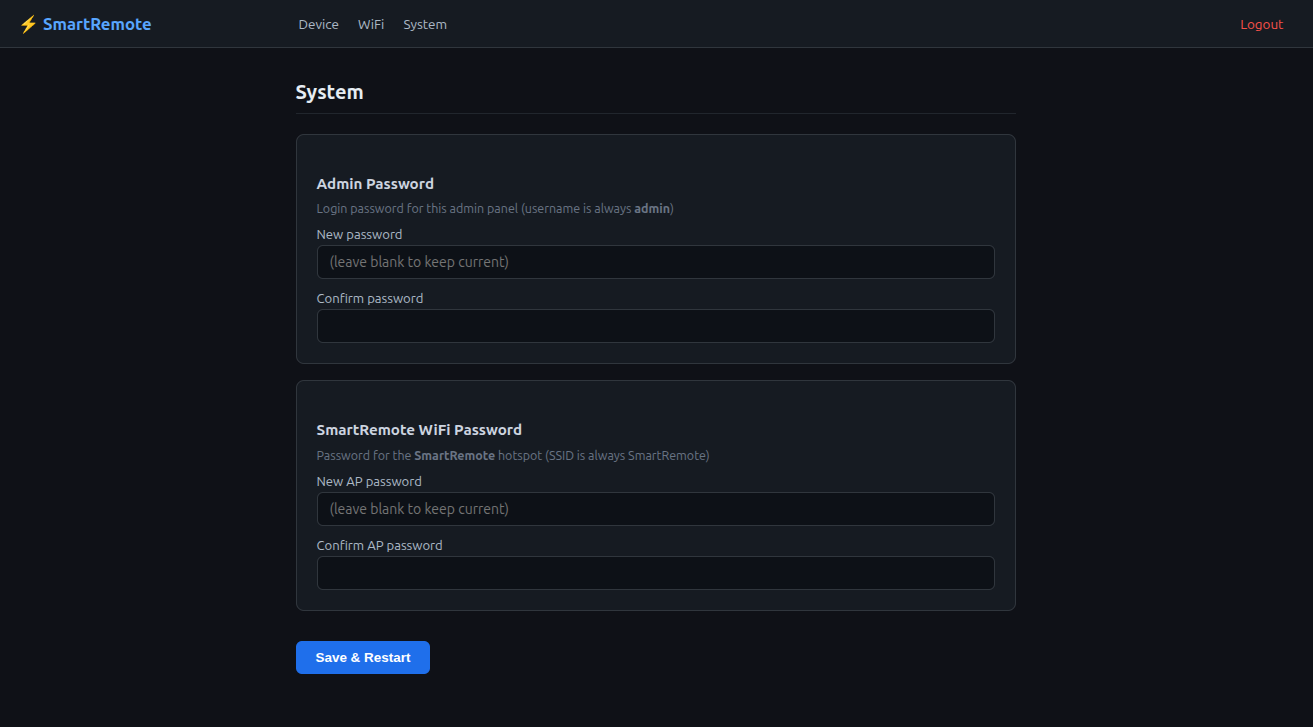
Change your passwords
Click System in the top menu. This page has two independent password sections:
Admin Password
This is the login password for the web interface you're currently using (username is always admin). Change it from the default admin to something secure.
SmartRemote Wi-Fi Password
This is the password for the SmartRemote hotspot itself. Change it from the default SmartRemote to something only you know — anyone nearby could connect to a default-password hotspot.
Click Save & Restart after making changes. The SSID name stays SmartRemote — only the password changes.
Enter your device credentials
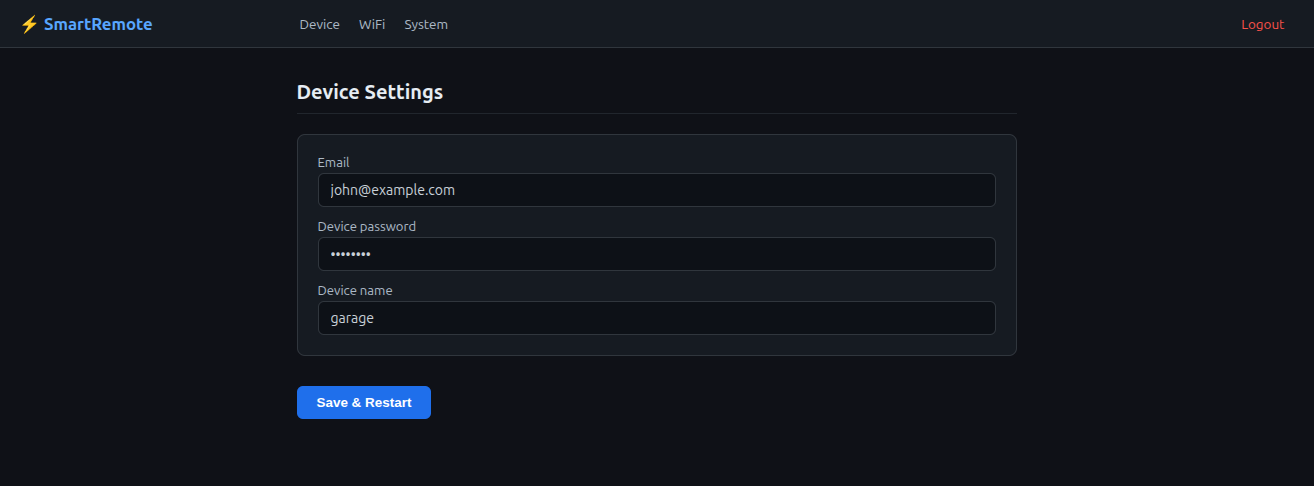
Click Device in the top menu. This is where you link the physical device to your SmartRemote account. Enter the three values you got during the SaaS setup in Part 1:
The email address you used to register your SmartRemote account.
Device Password
The device-specific password you set when you added the device in the SaaS dashboard.
Device Name (slug)
Your unique device identifier from the SaaS dashboard. Must be one word, lowercase, at least 6 characters, and globally unique — the platform checks this when you add the device.
These same values must match exactly what you entered in the SaaS dashboard. Click Save & Restart when done — the device will reboot and connect to the platform.
That's it — you're set up
Your SmartRemote device is now online and connected to your account. You can control your relays by WhatsApp, the mobile app, or the web dashboard — from anywhere.